FIRING UP A BASIC VO SESSION
With an interface connected to your computer, you fire up the demo. After Reaper’s splash screen disappears, you are presented with an empty project screen. There’s a toolbar in the upper left corner with a dozen plus icons on it, transport controls and counter displays which are located along the bottom, and a big empty track window that occupies the majority of the right side of the screen with a ruler at the top. The default ruler comes up displaying bars and beats on top, and minutes and seconds on the bottom -- we want just minutes and seconds for this work.

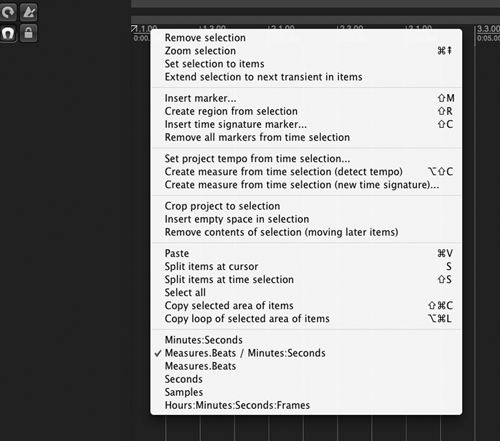
To select a different timescale, right-click directly on the ruler, and a large menu of edit functions will immediately appear (see Fig. 1 Menu). At the bottom of this menu, choose Minutes:Seconds, release the mouse and it’s done. This step also illustrates a fundamental rule when working with Reaper; right-click everything. Chances are good you’ll find exactly the parameter you’re looking for.

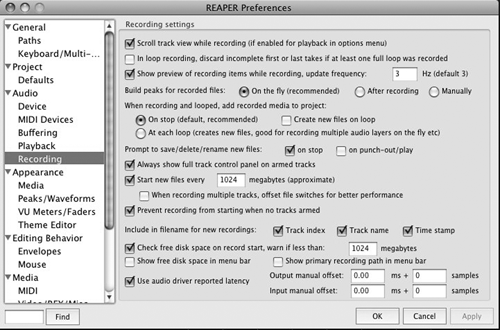
Before recording for the first time, you’ll need to take a moment to deal with interface settings and file management. In case you haven’t yet told Reaper about your audio interface, it’s a good idea to open the Preferences dialog (see Fig. 2 Prefs). From the list on the left, choose the item labeled Audio, and click on Device. Make sure your audio interface appears and is selected in the drop down list at the top; if it isn’t, either select it from the drop down menu to Make It So, or check your connections, power to your interface, and the other customary troubleshooting steps. The interfaces I tried all showed up in the list, so I just had to select one. You may also want to click the Playback item and the Recording item to confirm or change how Reaper will behave during the session. Finally, close the Prefs window, and click on the wrench icon in the Toolbar. Use the Audio Settings tab to tell Reaper where to store your recorded files, as well as your preferred audio format, sample rate, and bit depth. That takes care of the basic file management issues, and once that’s all set up it would be wise to save your project as a Template. Hit the File menu, scroll to “Project templates”, and click “Save project as template...” and you’re done.

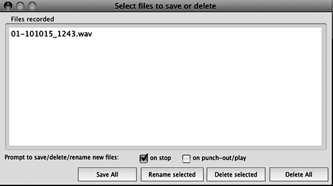
Next, create a new track by selecting “Insert new track” from the Track menu, or hitting Cmd-T/Ctrl-T from the keyboard. Click on the red Track Arm button on the left side of the new Track’s header (that’s the leftmost part) and you’re ready to go, so press Cmd-R/Ctrl-R to begin recording. As you record, you will notice that the waveform draws on the screen as you would expect and the Track’s meters bounce appropriately. The timeline may or may not scroll to the right, depending upon how you set up your Preferences (the default is to scroll). When you’re done, press the spacebar to stop Recording. Reaper will immediately display a window with the name of the file you just recorded (see Fig. 3 Confirm). This is also default behavior that allows you to save, rename or delete the take you recorded. If you would prefer not to see that window again, just uncheck the box marked “on stop”. You’re done now, so it’s time to cut ‘em up.

