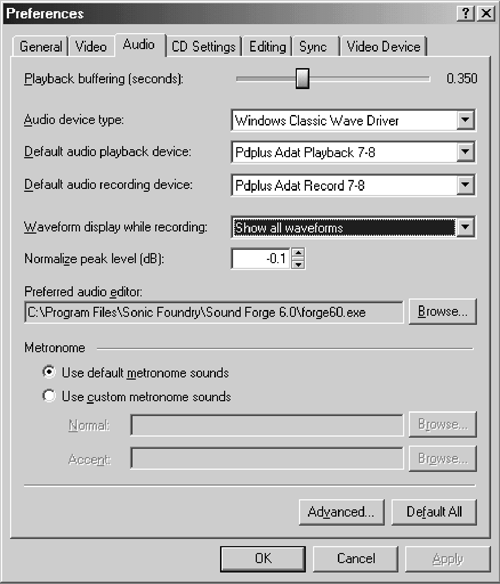
Take a quick trip to the Preferences menu and select the Audio tab to help VV find your sound card. You’ll first choose between Microsoft Sound Mapper and the “Classic Wave Driver.” (I had to select the latter in order for either of my audio cards to appear in the list.) Once that’s done you should probably scan the other preferences to select your attached CD burner, specify an external audio editing program for micro-surgery, and generally make sure that Vegas Video works as you’d like it.
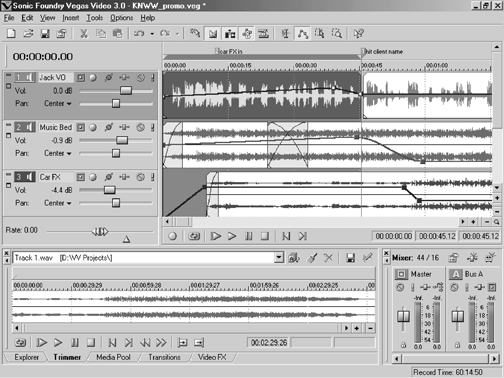
Another quick trip you’ll want to take is to the View menu where you can hide the aforementioned video screen completely, which effectively gives you the look of Vegas Audio. That’s right, despite the product’s name, you can obscure the fact that Vegas Video knows anything about DV editing, and be on your audio-only way.
The button bar across the top duplicates various menu items and editing commands. Excluding the standard cut/copy/paste icons, I found the others to be not very intuitive (or maybe it’s just my old eyesight). There is a label that pops up when you hover the cursor over a button, but I still found myself just not using them. Oh well.
The program has a large collection of keyboard equivalents that operate every significant editing function, and they’re well thought out. For example, pressing S splits the file at the cursor, while control-E brings up your external software editor (Sound Forge for me) with the selected audio region ready to be hacked.
Finally, the browser window in the lower left wears several hats. The tabs along the bottom of the browser let it act as a file manager (the Explorer tab), a Trimmer/Previewer (where you can play recorded files without loading them), and a Media Pool where you can view just the audio files that are used in your current project. In case you’re wondering, the other tabs handle various video options.


